Performing a Rapid Check In
You are able to check in multiple assets at once by using a wired or wireless keyboard wedge scanner via the Rapid Check Out Operation.
To perform a Rapid Check In Operation, be sure to have the:
- Rapid Check In/Out Operation Labels (see "Rapid Check In Out Operation Labels")
- Assignee Labels (see "Assignee Labels")
- Asset Labels (see "Asset Labels for Rapid Check In Out")
Note: Check In Order Auto-Numbering and Check Out Order Auto-Numbering must be enabled in order to use the Rapid Check In/Out featureThe Rapid Check In/Out feature is designed to rapidly check in/out assets from the web application while using a wired or wireless wedge scanner. It is available in edit mode. When enabled, the Assets > Rapid Check In/Out option is enabled in the web application and the user may reach the Rapid Check In/Out page. Rapid check in/rapid check out labels are available at the View Labels page. Check In Order Auto-Numbering and Check Out Order Auto-Numbering must be enabled for the division in order to use the Rapid Check In Out feature.; see "Division Asset Options" for more information.
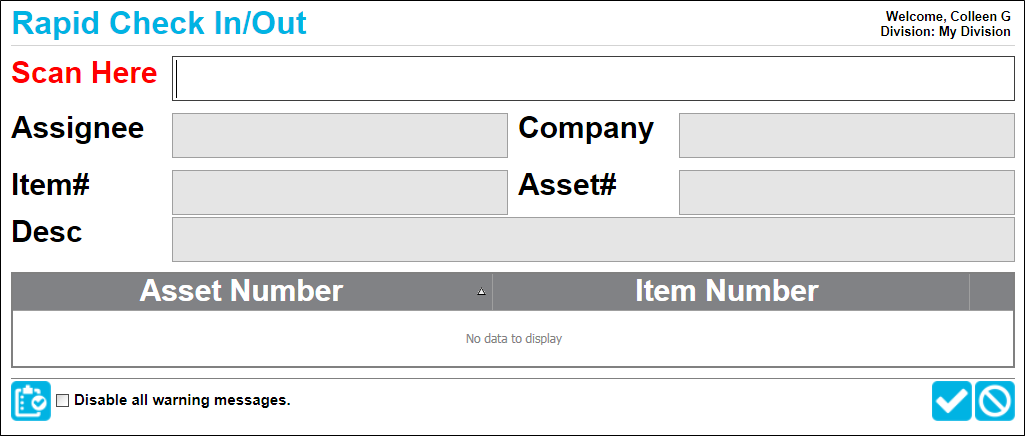
- Select Assets > Rapid Check In/Out. The Rapid Check In/Out page appears.
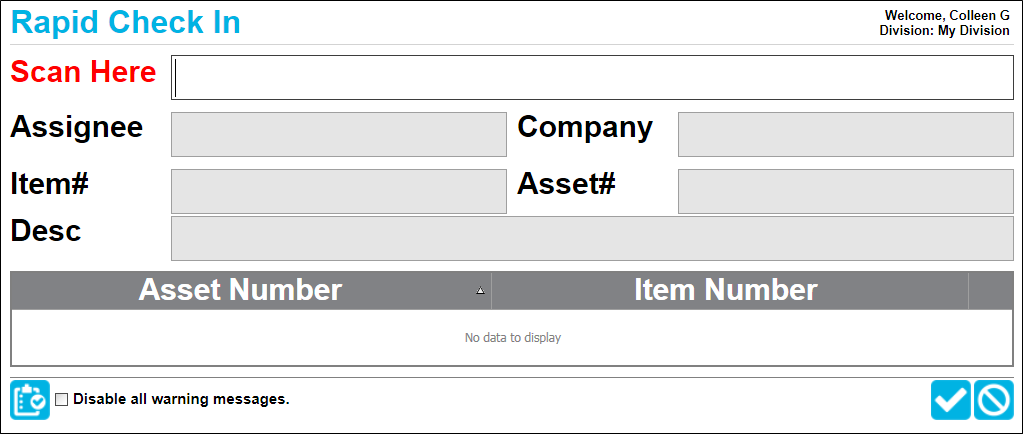
- Check In Label: scan the process barcode, CheckIn, into the Scan Here field:
- The page title will change to reflect the process that is being performed, Rapid Check In.
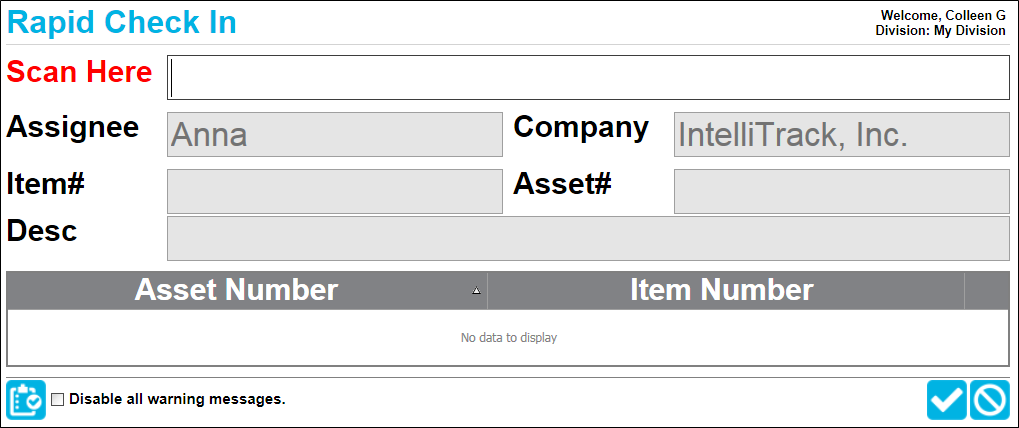
- Assignee Label: next, scan the Check In Assignee. The assignee is automatically placed in the Assignee field; the assignee's company is automatically placed in the Company field.
- Asset Label: after the assignee is scanned, scan the Asset Label for the asset to be checked into the system at the Scan Here field. The asset information populates the Item# field, the Asset# field, and the Desc field; it is also placed in the page's grid.
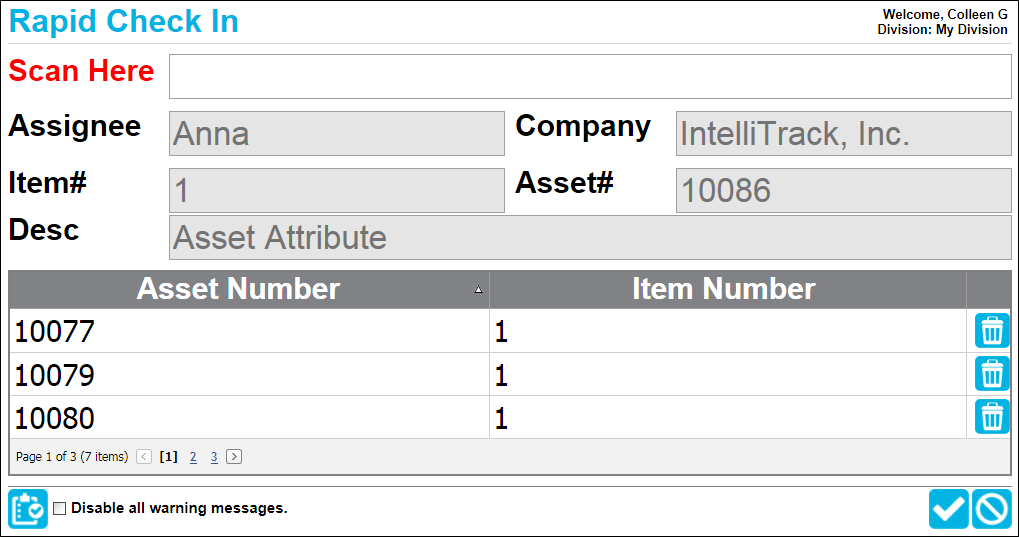
- Asset Label: continue to scan the assets that are being checked into IntelliTrack by this assignee until you are finished.
- Delete icon: if you want to remove an asset from the rapid check in that is being performed, select the Delete icon
 to the right of the asset to remove the asset from the rapid check in. You must walk over to the PC and delete the asset from the PC; it cannot be deleted with the scanner.
 - Save Label: to check in the assets scanned in this rapid session, scan the Save barcode into the Scan Here field. The page clears and the check in transactions are saved.
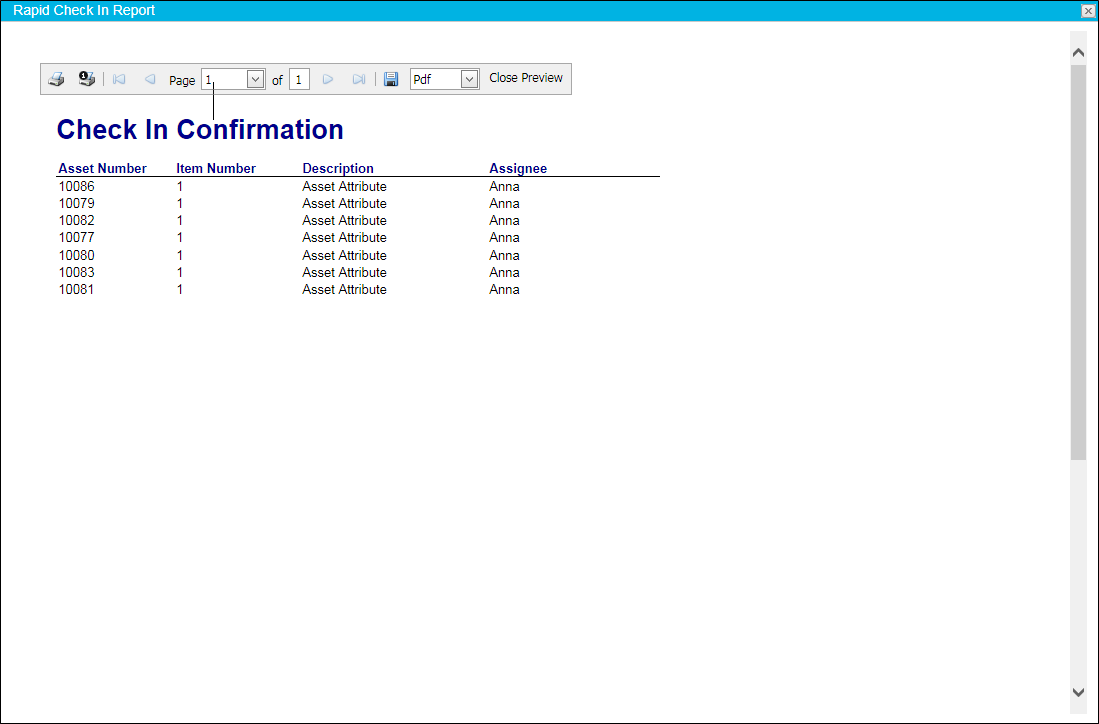
- Save and Print Label: to print a Check In Confirmation and check in the assets, scan the Save and Print barcode into the Scan Here field. The Check In Confirmation Report loads onscreen. You are able to preview the report, print it or export it to a file.
- Click the Close Preview button or the Windows Close icon in the top right corner of the report to close the report and return to the Rapid Check In/Out page. The page has cleared, indicating that it is ready for the next Rapid Check In/Out session.
- Cancel Label: to cancel the check in of assets that have been scanned during this rapid check in, scan the Cancel barcode into the Scan Here field. The page clears and the check in transactions are not processed.